Remove DiscoveryUnit Adware From Mac
DiscoveryUnit: Complete Uninstall Process
DiscoveryUnit is an ad-supported program which upon getting into the Mac computers, serves intrusive advertisements. It can act as both adware as well as browser hijacker and make changes to default browser’s settings to promote a fraudulent search engine. Similar to RotatorBox and other adware infections, it also generally infiltrates the Mac devices without users’ consent via illusive techniques and hence, considered as a potentially unwanted application (PUA). It aims to boost traffic for third-party websites and make quick online revenues for the developers. And thus, soon after getting into your PC, it starts interrupting your online sessions with annoying ads and frequent redirects.

DiscoveryUnit Ads Come In Various Formats:
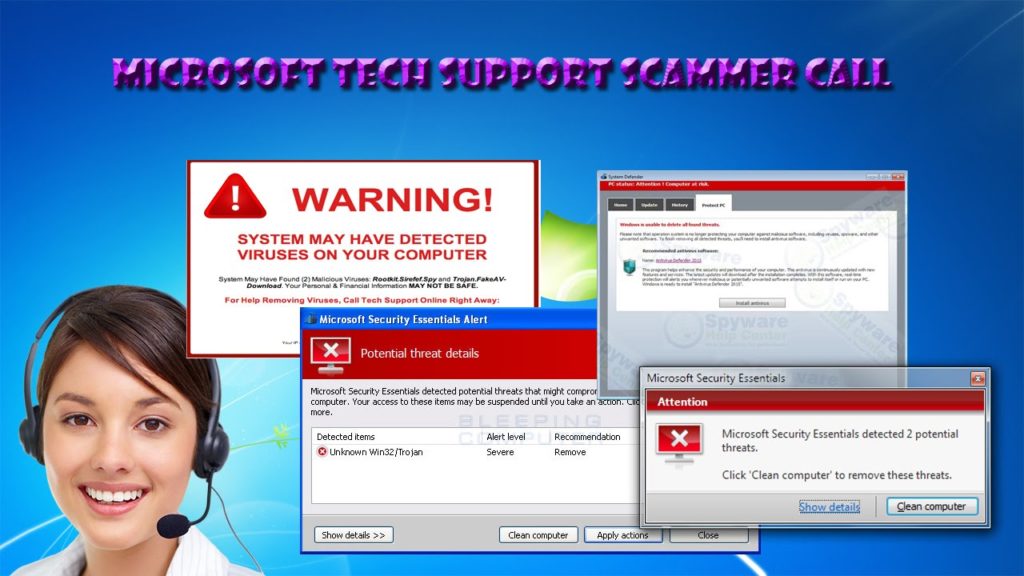
DiscoveryUnit ads are in multiple forms including pop-ups, offers, coupons, banners, deals, discounts etc. These ads are designed in a manner that they make revenues for the developers when clicked via cost-per-click scheme. However, it is common that such advertisements usually contain malicious links and redirect users to potentially dangerous sites that may host ransomware, trojan or other cyber threats. At some pages, visitors are presented with fake security alerts, error messages, update notifications etc. and then tricked into installing rogue software.
DiscoveryUnit assigns its own perilous URL as the new home page, search engine and new tab addresses and grabs complete control over the entire browser. These fake search tools are not able to produce results by themselves and hence, they often redirect to Yahoo, Google, Bing and other legitimate ones. But the results are still not organic as they often contain ads and sponsored links that are placed right at the top. Such PUPs monitor victims’ web activities and collect browsing-related information like entered search queries, URLs of accessed pages, IP addresses, geolocation and so on.
DiscoveryUnit can even gather your personal data as well like credit card and banking details and all the collected data are later on sold to third-parties for monetary purposes. Your browsing preferences are very useful for generating eye-catching advertisements to get maximum clicks on them. Additionally, scammers can utilize your sensitive info to make deceptive transactions or purchases. And therefore, presence of this nasty PUP in your Mac can lead to severe privacy issues, identity theft and huge financial loss. And so, a quick DiscoveryUnit removal is strongly recommended.
Ways To Spread DiscoveryUnit:
According to research, this notorious threat is mostly spread as the installer for Adobe Flash Player that is promoted through unreliable sites. You might see pop-ups on phishing domains which claim that your Adobe Flash Player needs to be updated quickly. You are also given an update link but once clicked, it leads to the intrusion of unwanted program. Moreover, you can end up with installing adware as well if you choose Quick or Recommended installation options after downloading a freeware from untrustworthy site.
Tips To Prevent Adware Intrusion:
And hence, to avoid these intrusions, you should update, activate or download any software using official sites only and not trust on third-party pages. Also, always opt for the Custom or Advanced configuration settings to install application where you can de-select the components that you don’t want to be installed. By clicking on vicious ads or hyperlinks while web surfing, you might be redirected to malware-laced pages, so avoid interacting with such suspicious contents. In case your computer is already infected with this PUP, you must remove DiscoveryUnit from the Mac as early as possible.
Special Offer (For Macintosh)
DiscoveryUnit can be creepy computer infection that may regain its presence again and again as it keeps its files hidden on computers. To accomplish a hassle free removal of this malware, we suggest you take a try with a powerful antimalware scanner to help you getting rid of this virus
Remove Files and Folders Related to DiscoveryUnit

Open the “Menu” bar and click the “Finder” icon. Select “Go” and click on “Go to Folder…”
Step 1: Search the suspicious and doubtful malware generated files in /Library/LaunchAgents folder

Type /Library/LaunchAgents in the “Go to Folder” option

In the “Launch Agent” folder, search for all the files that you have recently downloaded and move them to “Trash”. Few of the examples of files created by browser-hijacker or adware are as follow, “myppes.download.plist”, “mykotlerino.Itvbit.plist”, installmac.AppRemoval.plist”, and “kuklorest.update.plist” and so on.
Step 2: Detect and remove the files generated by the adware in “/Library/Application” Support folder

In the “Go to Folder..bar”, type “/Library/Application Support”

Search for any suspicious newly added folders in “Application Support” folder. If you detect any one of these like “NicePlayer” or “MPlayerX” then send them to “Trash” folder.
Step 3: Look for the files generated by malware in /Library/LaunchAgent Folder:

Go to Folder bar and type /Library/LaunchAgents

You are in the “LaunchAgents” folder. Here, you have to search for all the newly added files and move them to “Trash” if you find them suspicious. Some of the examples of suspicious files generated by malware are “myppes.download.plist”, “installmac.AppRemoved.plist”, “kuklorest.update.plist”, “mykotlerino.ltvbit.plist” and so on.
Step4: Go to /Library/LaunchDaemons Folder and search for the files created by malware

Type /Library/LaunchDaemons in the “Go To Folder” option

In the newly opened “LaunchDaemons” folder, search for any recently added suspicious files and move them to “Trash”. Examples of some of the suspicious files are “com.kuklorest.net-preferences.plist”, “com.avickUpd.plist”, “com.myppes.net-preference.plist”, “com.aoudad.net-preferences.plist” and so on.
Step 5: Use Combo Cleaner Anti-Malware and Scan your Mac PC
The malware infections could be removed from the Mac PC if you execute all the steps mentioned above in the correct way. However, it is always advised to be sure that your PC is not infected. It is suggested to scan the work-station with “Combo Cleaner Anti-virus”.
Special Offer (For Macintosh)
DiscoveryUnit can be creepy computer infection that may regain its presence again and again as it keeps its files hidden on computers. To accomplish a hassle free removal of this malware, we suggest you take a try with a powerful antimalware scanner to help you getting rid of this virus
Once the file gets downloaded, double click on combocleaner.dmg installer in the newly opened window. Next is to open the “Launchpad” and press on “Combo Cleaner” icon. It is advised to wait until “Combo Cleaner” updates the latest definition for malware detection. Click on “Start Combo Scan” button.

A depth scan of your Mac PC will be executed in order to detect malware. If the Anti-virus scan report says “no threat found” then you can continue with guide further. On the other hand, it is recommended to delete the detected malware infection before continuing.

Now the files and folders created by the adware is removed, you have to remove the rogue extensions from the browsers.
Remove DiscoveryUnit from Internet Browsers
Delete Doubtful and Malicious Extension from Safari

Go to “Menu Bar” and open “Safari” browser. Select “Safari” and then “Preferences”

In the opened “preferences” window, select “Extensions” that you have recently installed. All such extensions should be detected and click the “Uninstall” button next to it. If you are doubtful then you can remove all the extensions from “Safari” browser as none of them are important for smooth functionality of the browser.
In case if you continue facing unwanted webpage redirections or aggressive advertisements bombarding, you can reset the “Safari” browser.
“Reset Safari”
Open the Safari menu and choose “preferences…” from the drop-down menu.

Go to the “Extension” tab and set the extension slider to “Off” position. This disables all the installed extensions in the Safari browser

Next step is to check the homepage. Go to “Preferences…” option and choose “General” tab. Change the homepage to your preferred URL.

Also check the default search-engine provider settings. Go to “Preferences…” window and select the “Search” tab and select the search-engine provider that you want such as “Google”.

Next is to clear the Safari browser Cache- Go to “Preferences…” window and select “Advanced” tab and click on “Show develop menu in the menu bar.“

Go to “Develop” menu and select “Empty Caches”.

Remove website data and browsing history. Go to “Safari” menu and select “Clear History and Website Data”. Choose “all history” and then click on “Clear History”.

Remove Unwanted and Malicious Plug-ins from Mozilla Firefox
Delete DiscoveryUnit add-ons from Mozilla Firefox

Open the Firefox Mozilla browser. Click on the “Open Menu” present in the top right corner of the screen. From the newly opened menu, choose “Add-ons”.

Go to “Extension” option and detect all the latest installed add-ons. Select each of the suspicious add-ons and click on “Remove” button next to them.
In case if you want to “reset” the Mozilla Firefox browser then follow the steps that has been mentioned below.
Reset Mozilla Firefox Settings
Open the Firefox Mozilla browser and click on “Firefox” button situated at the top left corner of the screen.

In the new menu, go to “Help” sub-menu and choose “Troubleshooting Information”

In the “Troubleshooting Information” page, click on “Reset Firefox” button.

Confirm that you want to reset the Mozilla Firefox settings to default by pressing on “Reset Firefox” option

The browser will get restarted and the settings changes to factory default
Delete Unwanted and Malicious Extensions from Google Chrome

Open the chrome browser and click on “Chrome menu”. From the drop down option, choose “More Tools” and then “Extensions”.

In the “Extensions” option, search for all the recently installed add-ons and extensions. Select them and choose “Trash” button. Any third-party extension is not important for the smooth functionality of the browser.
Reset Google Chrome Settings
Open the browser and click on three line bar at the top right side corner of the window.

Go to the bottom of the newly opened window and select “Show advanced settings”.

In the newly opened window, scroll down to the bottom and choose “Reset browser settings”

Click on the “Reset” button on the opened “Reset browser settings” window

Restart the browser and the changes you get will be applied
The above mentioned manual process should be executed as it is mentioned. It is a cumbersome process and requires a lot of technical expertise. And hence it is advised for technical experts only. To be sure that your PC is free from malware, it is better that you scan the work-station with a powerful anti-malware tool. The automatic malware removal application is preferred because it doesn’t requires any additional technical skills and expertise.
Special Offer (For Macintosh)
DiscoveryUnit can be creepy computer infection that may regain its presence again and again as it keeps its files hidden on computers. To accomplish a hassle free removal of this malware, we suggest you take a try with a powerful antimalware scanner to help you getting rid of this virus
Download the application and execute it on the PC to begin the depth scanning. Once the scanning gets completed, it shows the list of all the files related to DiscoveryUnit. You can select such harmful files and folders and remove them immediately.


