Remove ProgressBuffer Hijacker (Mac)
Easy Steps To Delete ProgressBuffer
ProgressBuffer is a browser hijacking application which alters settings of Chrome, Explorer, Firefox, Safari or other browsers and sets startup page, new tab page and search engine to its own perilous URL. The unwanted program spreads with freeware and shareware apps and mainly targets Mac computers. The nasty adware promises to enhance users’ online experience by providing improved search results. However, the cost of such functionality is a compromised browser and potential threat of malware infection. Moreover, the search results delivered by this tool are also altered and often include sponsored links.
Depth Analysis of ProgressBuffer:
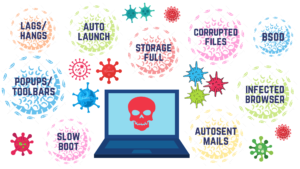
ProgressBuffer seeks to gain monetary profits by exploiting users’ browsing sessions’ quality. It is expected that people look for removal instructions of this threat after a short period of time, as their browsers are contaminated with advertisements of multiple forms. These ads can even cover up the background of legitimate websites, making browsing almost impossible. What is worse – this perilous hijacker might install additional elements, such as other fake system optimizers, useless extensions, and other bogus software, all without users’ approval.
ProgressBuffer hijack may seem risk-free at the first glance, as the front page is clean and not cluttered with annoying adverts. Nevertheless, all search results are redirected to Yahoo – a legitimate search engine. However, because search queries are being rerouted from this unwanted program, results might be not completely genuine. People often can quickly notice sponsored links everywhere – especially at top of the page. Creators try to persuade users that their offered products or services are worth purchasing, all to increase revenue.
Intrusive techniques and several system changes caused by ProgressBuffer may worry users enough to call it a virus. In reality, it can lead to various severe infections, as the unwanted app could potentially redirect users to hacked, malware-ridden, porn or other infectious sites. Thus, if you got redirected to the suspicious site, never click on anything and immediately close down your browser. To avoid threats related with this PUP, an instant ProgressBuffer removal is strongly recommended.
Ways To Spread ProgressBuffer:
Like other unwanted threats, it is also mostly spread through software bundling technique along with other free programs. When you download a freeware or shareware from untrustworthy site and then install it using the ‘Quick’ or ‘Recommended’ mode set, there is huge chance that you will end up installing such PUPs in the work-station along with the main software.
People should be more cautious when downloading and installing new software or surfing the web in general. This way, they would be able to avoid unwanted apps to get into the machine. Avoid using Recommended or Quick settings when installing freeware and choose only the Advanced/Custom mode where you can withdraw all the additional components and pick only the desired program.
Finally, we recommend equipping your device with a powerful security application which can prevent suspicious apps entering your computer. In case your PC is already infected with this adware, you must remove ProgressBuffer from the computer without wasting any time.
Special Offer (For Macintosh)
ProgressBuffer can be creepy computer infection that may regain its presence again and again as it keeps its files hidden on computers. To accomplish a hassle free removal of this malware, we suggest you take a try with a powerful antimalware scanner to help you getting rid of this virus
Remove Files and Folders Related to ProgressBuffer
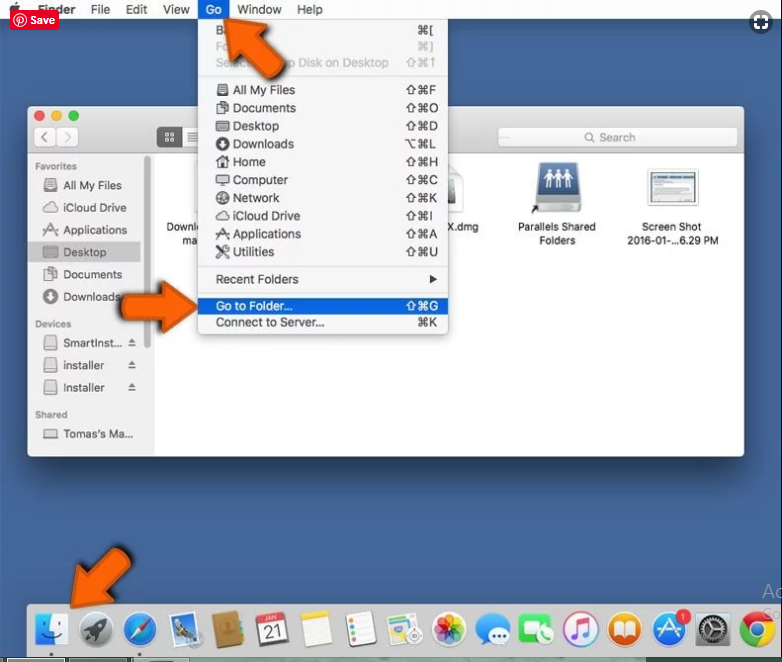
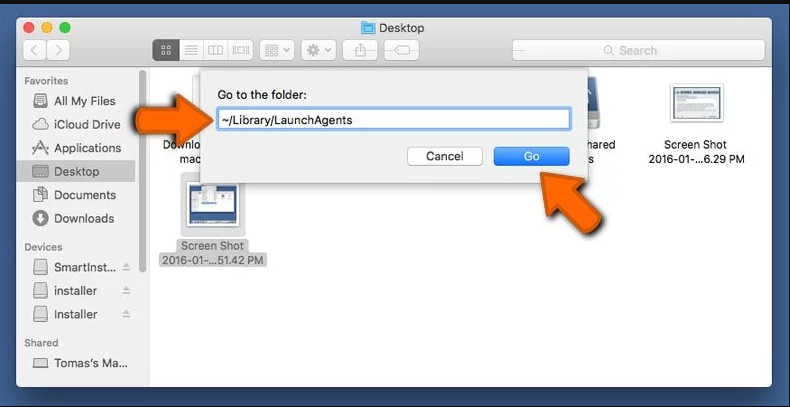
Open the “Menu” bar and click the “Finder” icon. Select “Go” and click on “Go to Folder…”
Step 1: Search the suspicious and doubtful malware generated files in /Library/LaunchAgents folder
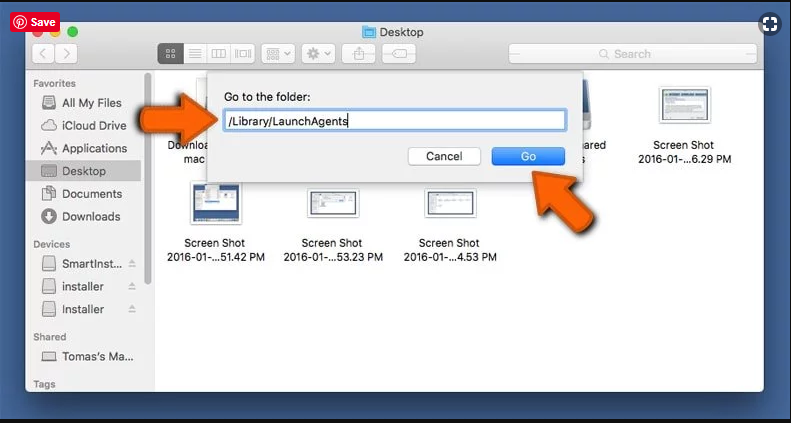
Type /Library/LaunchAgents in the “Go to Folder” option
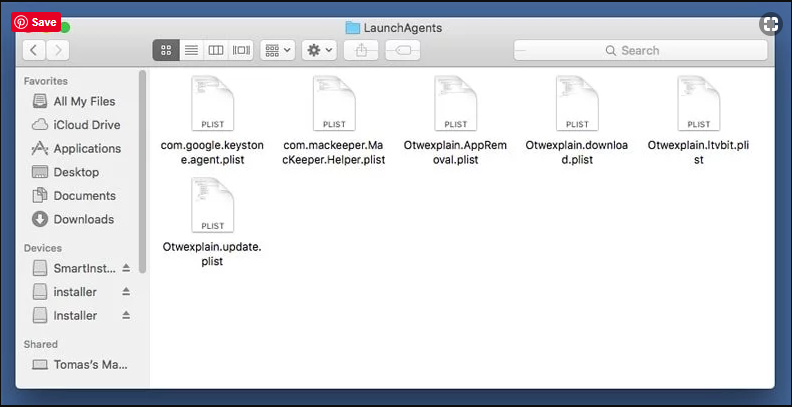
In the “Launch Agent” folder, search for all the files that you have recently downloaded and move them to “Trash”. Few of the examples of files created by browser-hijacker or adware are as follow, “myppes.download.plist”, “mykotlerino.Itvbit.plist”, installmac.AppRemoval.plist”, and “kuklorest.update.plist” and so on.
Step 2: Detect and remove the files generated by the adware in “/Library/Application” Support folder
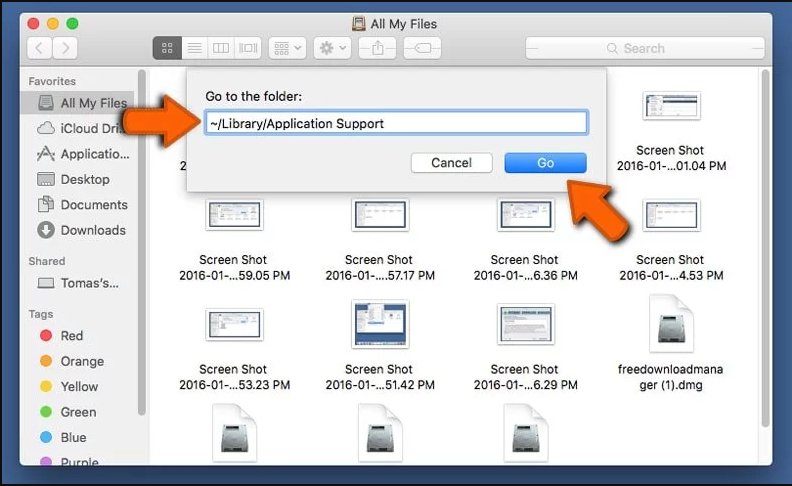
In the “Go to Folder..bar”, type “/Library/Application Support”
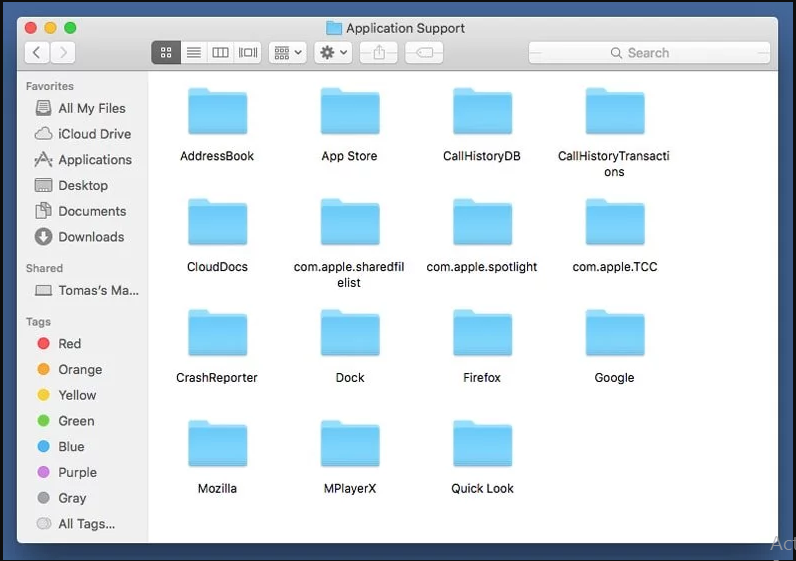
Search for any suspicious newly added folders in “Application Support” folder. If you detect any one of these like “NicePlayer” or “MPlayerX” then send them to “Trash” folder.
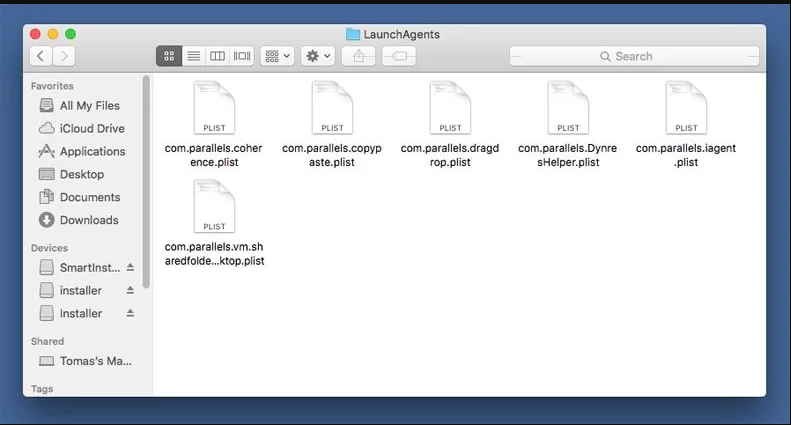
Step 3: Look for the files generated by malware in /Library/LaunchAgent Folder:
Go to Folder bar and type /Library/LaunchAgents
You are in the “LaunchAgents” folder. Here, you have to search for all the newly added files and move them to “Trash” if you find them suspicious. Some of the examples of suspicious files generated by malware are “myppes.download.plist”, “installmac.AppRemoved.plist”, “kuklorest.update.plist”, “mykotlerino.ltvbit.plist” and so on.
Step4: Go to /Library/LaunchDaemons Folder and search for the files created by malware
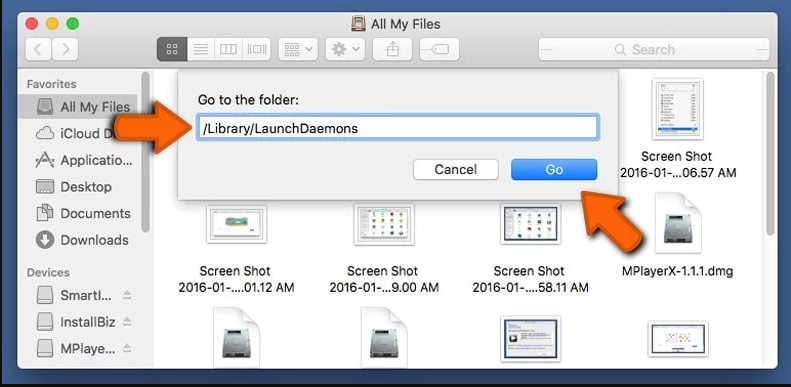
Type /Library/LaunchDaemons in the “Go To Folder” option
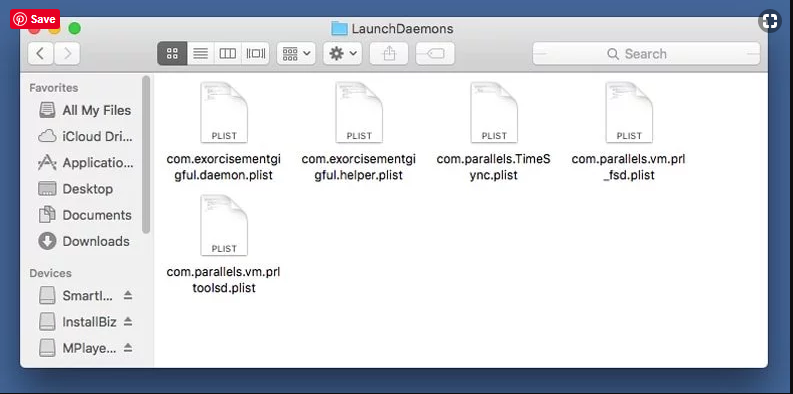
In the newly opened “LaunchDaemons” folder, search for any recently added suspicious files and move them to “Trash”. Examples of some of the suspicious files are “com.kuklorest.net-preferences.plist”, “com.avickUpd.plist”, “com.myppes.net-preference.plist”, “com.aoudad.net-preferences.plist” and so on.
Step 5: Use Combo Cleaner Anti-Malware and Scan your Mac PC
The malware infections could be removed from the Mac PC if you execute all the steps mentioned above in the correct way. However, it is always advised to be sure that your PC is not infected. It is suggested to scan the work-station with “Combo Cleaner Anti-virus”.
Special Offer (For Macintosh)
ProgressBuffer can be creepy computer infection that may regain its presence again and again as it keeps its files hidden on computers. To accomplish a hassle free removal of this malware, we suggest you take a try with a powerful antimalware scanner to help you getting rid of this virus
Once the file gets downloaded, double click on combocleaner.dmg installer in the newly opened window. Next is to open the “Launchpad” and press on “Combo Cleaner” icon. It is advised to wait until “Combo Cleaner” updates the latest definition for malware detection. Click on “Start Combo Scan” button.
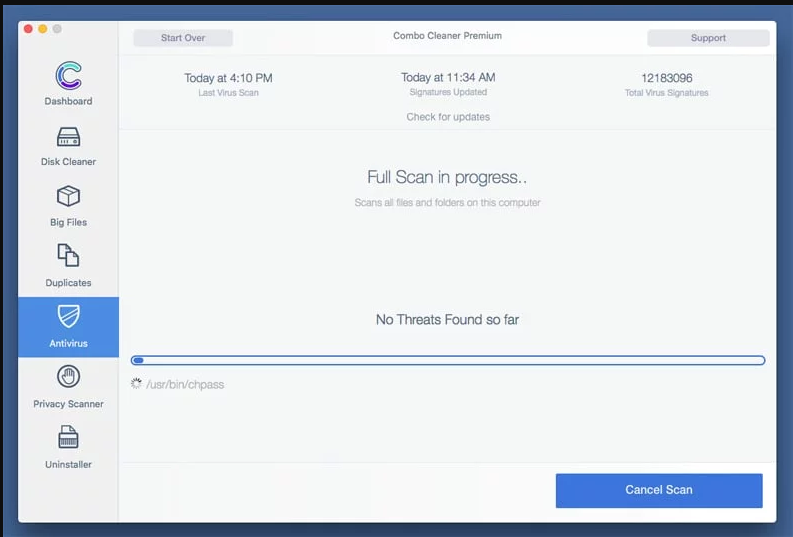
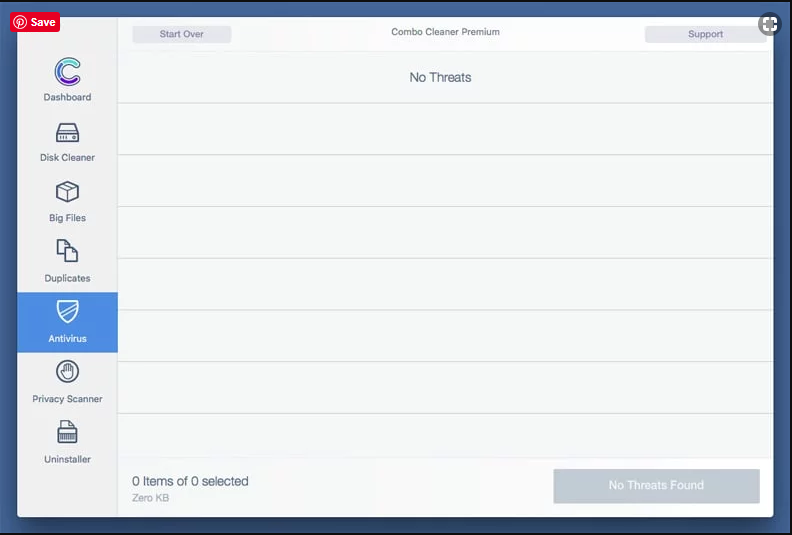
A depth scan of your Mac PC will be executed in order to detect malware. If the Anti-virus scan report says “no threat found” then you can continue with guide further. On the other hand, it is recommended to delete the detected malware infection before continuing.
Now the files and folders created by the adware is removed, you have to remove the rogue extensions from the browsers.
Remove ProgressBuffer from Internet Browsers
Delete Doubtful and Malicious Extension from Safari
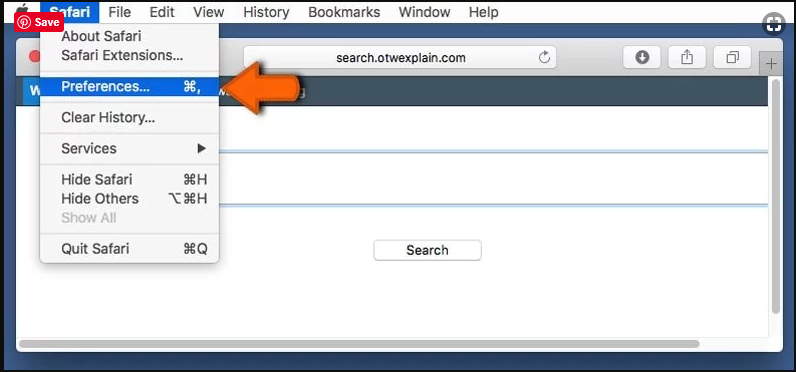
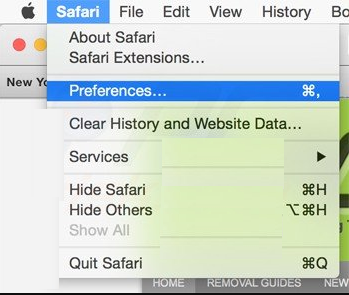
Go to “Menu Bar” and open “Safari” browser. Select “Safari” and then “Preferences”
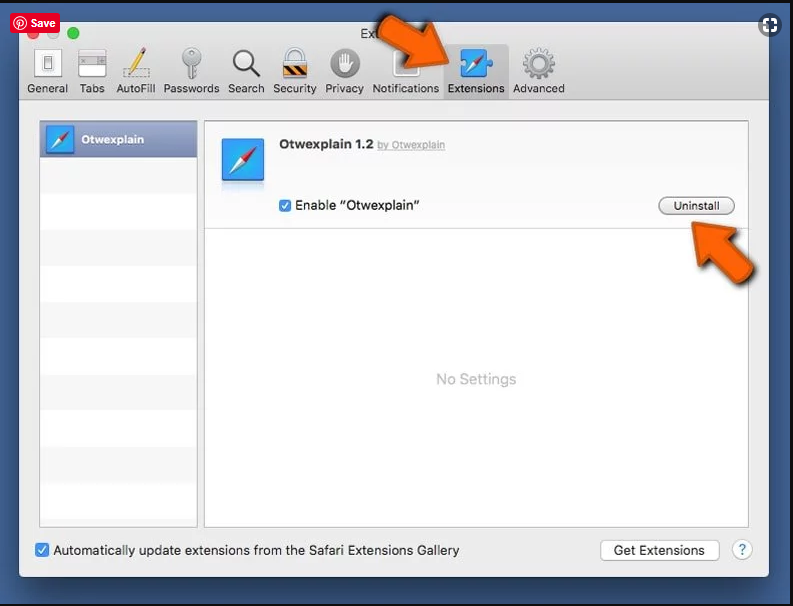
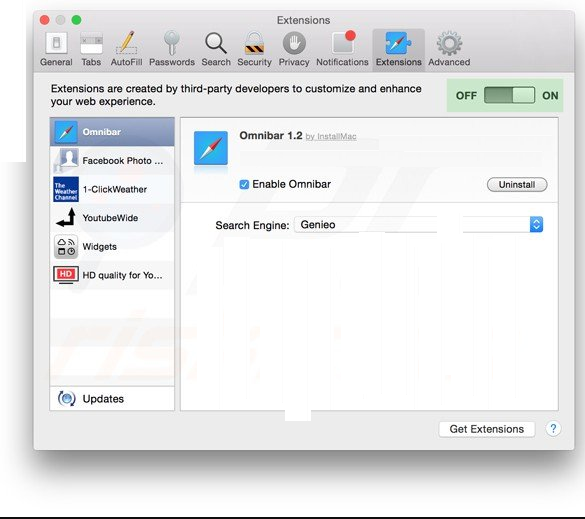
In the opened “preferences” window, select “Extensions” that you have recently installed. All such extensions should be detected and click the “Uninstall” button next to it. If you are doubtful then you can remove all the extensions from “Safari” browser as none of them are important for smooth functionality of the browser.
In case if you continue facing unwanted webpage redirections or aggressive advertisements bombarding, you can reset the “Safari” browser.
“Reset Safari”
Open the Safari menu and choose “preferences…” from the drop-down menu.
Go to the “Extension” tab and set the extension slider to “Off” position. This disables all the installed extensions in the Safari browser
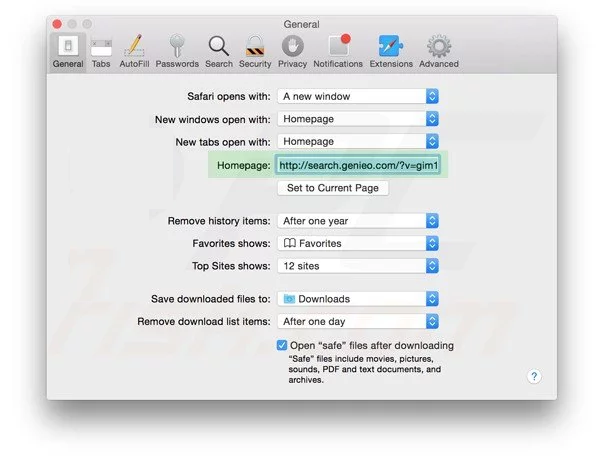
Next step is to check the homepage. Go to “Preferences…” option and choose “General” tab. Change the homepage to your preferred URL.
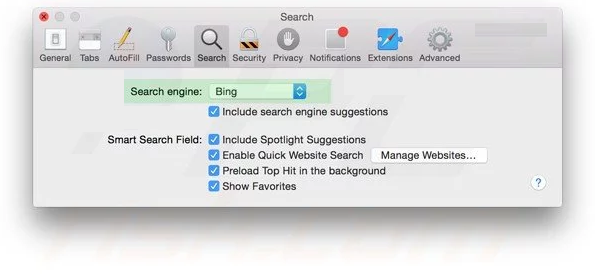
Also check the default search-engine provider settings. Go to “Preferences…” window and select the “Search” tab and select the search-engine provider that you want such as “Google”.
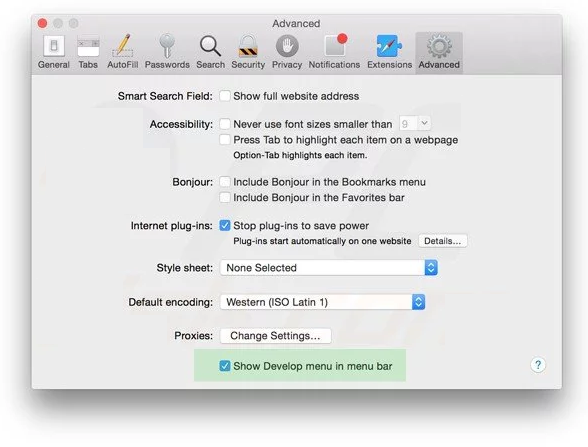
Next is to clear the Safari browser Cache- Go to “Preferences…” window and select “Advanced” tab and click on “Show develop menu in the menu bar.“
Go to “Develop” menu and select “Empty Caches”.

Remove website data and browsing history. Go to “Safari” menu and select “Clear History and Website Data”. Choose “all history” and then click on “Clear History”.

Remove Unwanted and Malicious Plug-ins from Mozilla Firefox
Delete ProgressBuffer add-ons from Mozilla Firefox
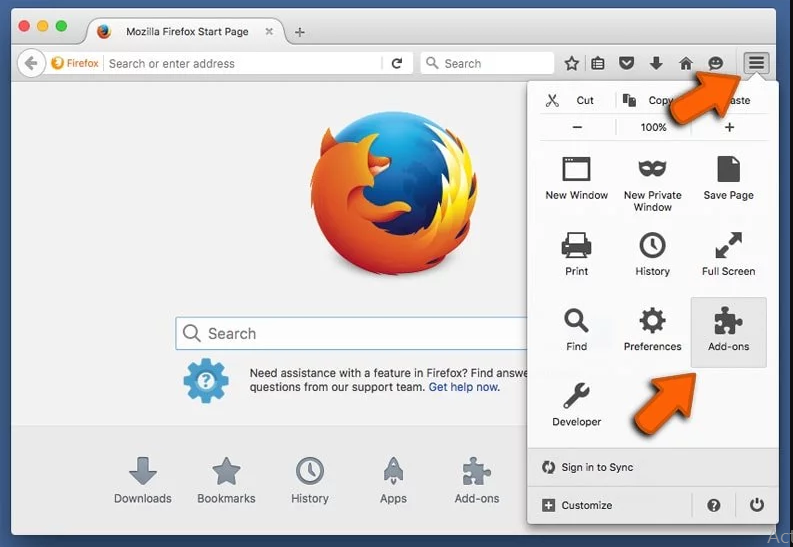
Open the Firefox Mozilla browser. Click on the “Open Menu” present in the top right corner of the screen. From the newly opened menu, choose “Add-ons”.
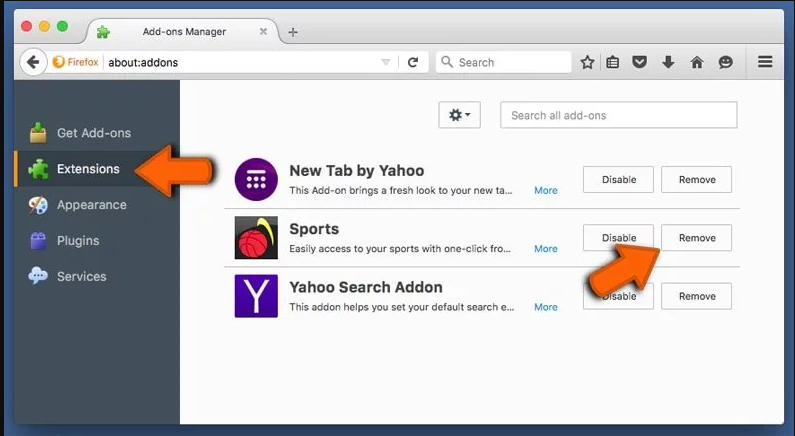
Go to “Extension” option and detect all the latest installed add-ons. Select each of the suspicious add-ons and click on “Remove” button next to them.
In case if you want to “reset” the Mozilla Firefox browser then follow the steps that has been mentioned below.
Reset Mozilla Firefox Settings
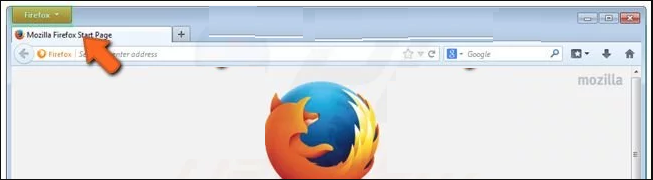
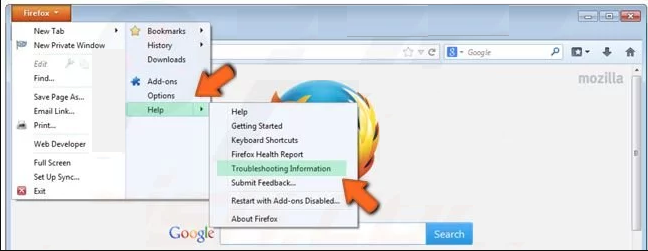
Open the Firefox Mozilla browser and click on “Firefox” button situated at the top left corner of the screen.
In the new menu, go to “Help” sub-menu and choose “Troubleshooting Information”
In the “Troubleshooting Information” page, click on “Reset Firefox” button.
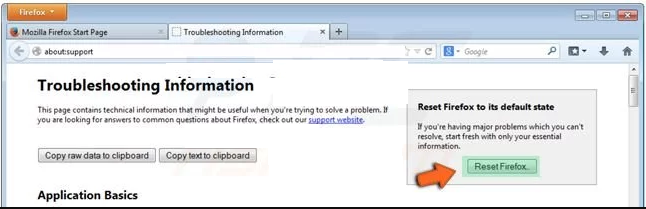
Confirm that you want to reset the Mozilla Firefox settings to default by pressing on “Reset Firefox” option

The browser will get restarted and the settings changes to factory default
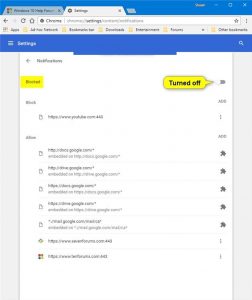
Delete Unwanted and Malicious Extensions from Google Chrome
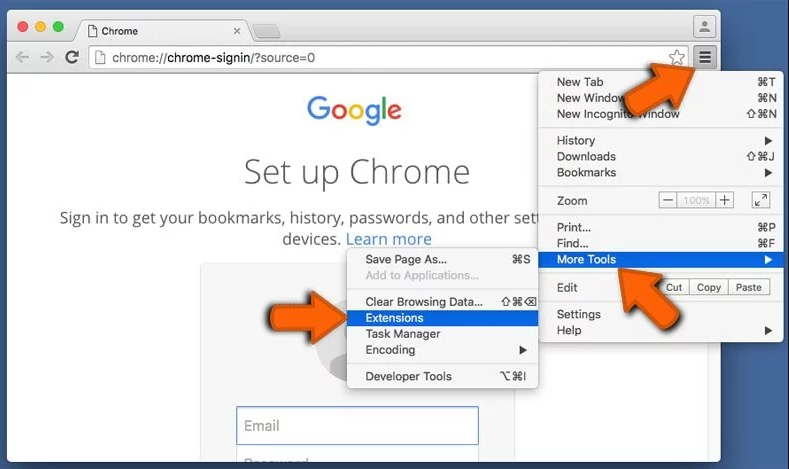
Open the chrome browser and click on “Chrome menu”. From the drop down option, choose “More Tools” and then “Extensions”.
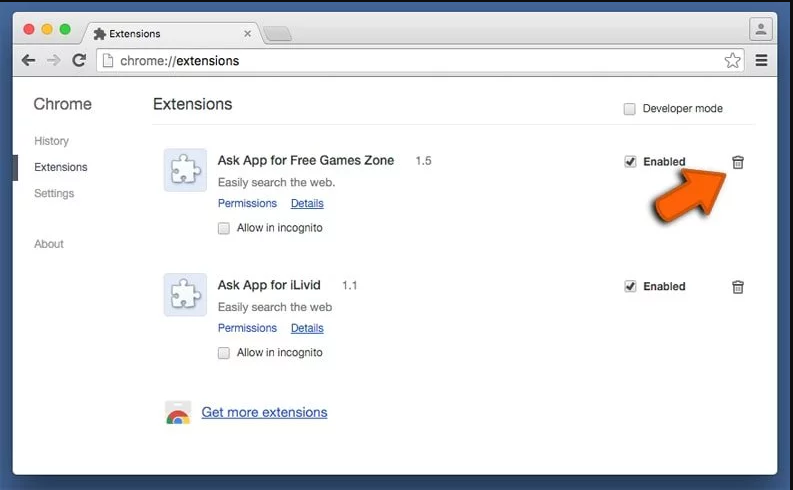
In the “Extensions” option, search for all the recently installed add-ons and extensions. Select them and choose “Trash” button. Any third-party extension is not important for the smooth functionality of the browser.
Reset Google Chrome Settings
Open the browser and click on three line bar at the top right side corner of the window.
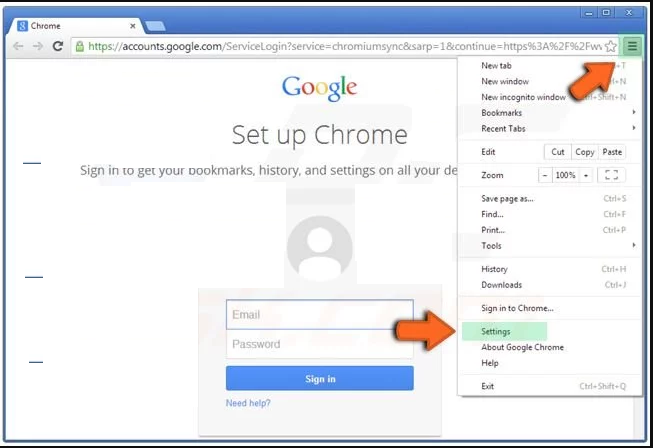
Go to the bottom of the newly opened window and select “Show advanced settings”.

In the newly opened window, scroll down to the bottom and choose “Reset browser settings”
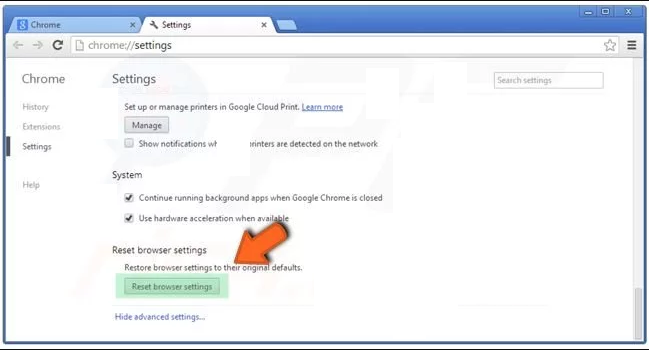
Click on the “Reset” button on the opened “Reset browser settings” window

Restart the browser and the changes you get will be applied
The above mentioned manual process should be executed as it is mentioned. It is a cumbersome process and requires a lot of technical expertise. And hence it is advised for technical experts only. To be sure that your PC is free from malware, it is better that you scan the work-station with a powerful anti-malware tool. The automatic malware removal application is preferred because it doesn’t requires any additional technical skills and expertise.
Special Offer (For Macintosh)
ProgressBuffer can be creepy computer infection that may regain its presence again and again as it keeps its files hidden on computers. To accomplish a hassle free removal of this malware, we suggest you take a try with a powerful antimalware scanner to help you getting rid of this virus
Download the application and execute it on the PC to begin the depth scanning. Once the scanning gets completed, it shows the list of all the files related to ProgressBuffer. You can select such harmful files and folders and remove them immediately.